Belaying with a tube
A tube forgives no mistakes — all stopping power comes from your brake hand. Here: the brake-hand principle, the three take-in methods, and typical mistakes.
Why a tube at all?
For gym and crag the DAV recommends assisted-braking devices (Smart, Grigri & co.) — they help lock in a fall and forgive a mistake more readily.
On multi-pitch, tube and HMS are still the standard: light, two-strand capable, good for rappel, and they belay the second straight off the stance. That’s why the DAV says: drill tube handling in the gym and at the crag first.
A dynamic belay means giving a little rope in the fall (softer catch) — except near the ground or a ledge, then catch hard and keep slack out.
The two core rules
- 1Never let go of the brake strand.
- 2Brake hand stays below the device.
The brake-hand principle
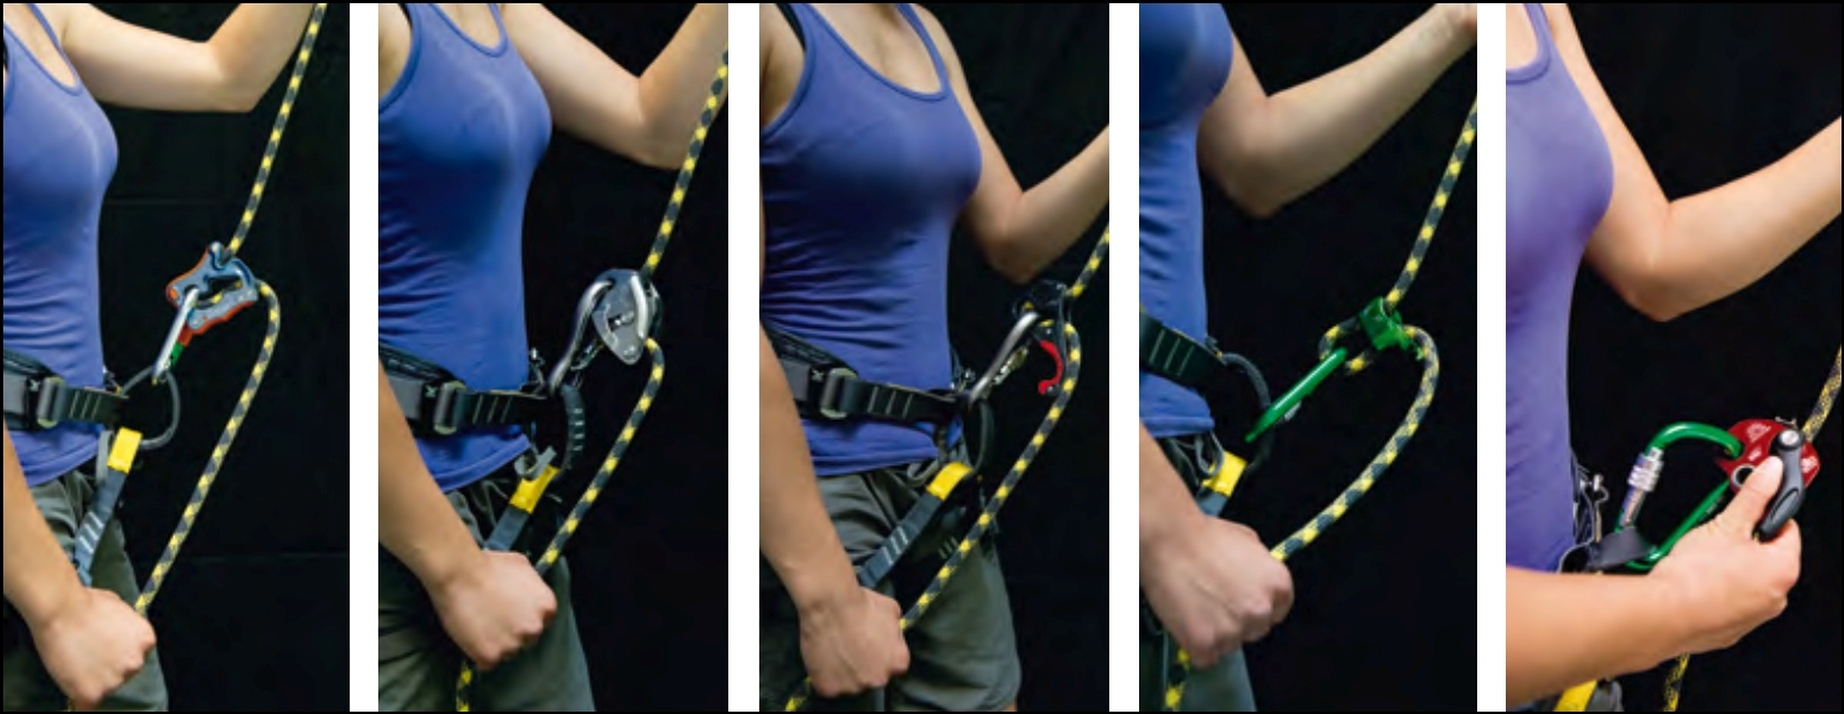
A tube has no assisted braking — all stopping power comes from friction your brake hand puts on the brake strand. So without exception:
- One hand always wraps the brake strand — every phase of the belay, no exception.
- The brake strand is the rope running down from the belay device.
- Hold the brake strand down — the brake hand stays below the device.
- In a fall the brake hand locks the brake strand and goes down. The guide hand can join it on the brake strand.
The three take-in methods
After the Petzl manual — for all three: the brake strand stays wrapped in the hand.
Belaying in 5 steps
Top ropeTop-rope belay only — works only when the strand to the climber is tight.
- 1Take in: guide hand pulls the climber’s strand down, brake hand pulls the rope through the device at the same time.
- 2Brake: bring the brake strand straight back down into brake position.
- 3Regrip: guide hand takes the brake strand below the brake hand.
- 4Slide: brake hand slides up the rope toward the device — without letting go.
- 5Reset: guide hand back to the climber’s strand, start position.
Tunnelling
Lots of rope, fastWhen you need a lot of rope in fast, or the strand to the climber isn’t tight — typical on lead (e.g. while clipping).
- 1Both hands work the brake strand in turn and pull it through the device.
- 2The brake hand “tunnels” along the rope: it opens only enough for the rope to slide through.
- 3After taking in, go straight back to brake position below the device.
The brake hand slides on the rope — it must never let go.
PBUS
Pull – Brake – Under – SlideA mix of both techniques — the internationally taught standard for taking in on top rope.
- 1Pull: guide hand takes in the climber’s strand, brake hand pulls through the device.
- 2Brake: brake strand down into brake position.
- 3Under: guide hand takes the brake strand below the brake hand.
- 4Slide: brake hand slides up to the device — without letting go — and the guide hand returns to the climber’s strand.
Each method has a short demo in the Petzl tech tip “taking in rope”.
Belaying correctly with a tube
The DAV training video shows the full handling — paying out, taking in, lowering, and the classic mistakes.
Watch out — typical mistakes
- Brake hand above the device — no braking there.
- Letting go of the brake strand, even for a moment while changing grip.
- Holding the brake strand up instead of down — the angle between guide and brake strands must be well over 90°.
- Too much slack, especially while the climber is still near the ground.
- Lowering with the rope just running loosely through an open hand.
- Standing too far from the wall, or belaying distracted.
Want it on video? The full series under Videos → · Lowering from the stance and rappelling under Rappelling →
Sources: DAV belay-device recommendation, Petzl “belay technique: taking in rope” and Alpenverein Südtirol “The brake-hand principle”.