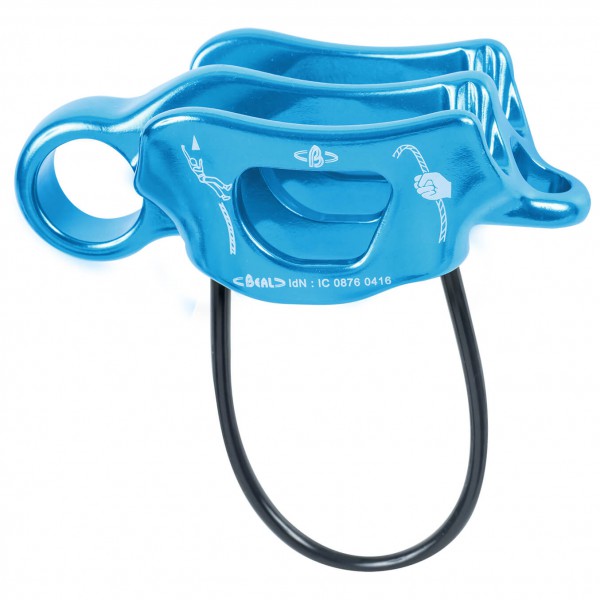
Climbing.
Solo · Self-belay

Top-rope solo & lead solo

Climbing alone with a rope — from a fixed top rope to a self-belayed lead.

Up front

  • Solo means you belay yourself — no partner on the other end. Less logistics, far more responsibility.
  • Two worlds: top-rope solo (rope fixed from above, device follows) and lead solo (you lead and belay yourself off the pieces).
  • No cheat sheet replaces a course, a briefing and ground practice. Solo only once partner belaying and ropework really sit.
Top solo, TRS, fixed-rope solo

Top-rope solo

A rope hangs fixed from above (anchor/stance). You climb the rope — a progress-capture device locks under load.

How it works

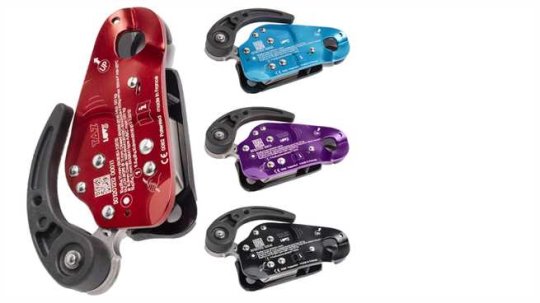
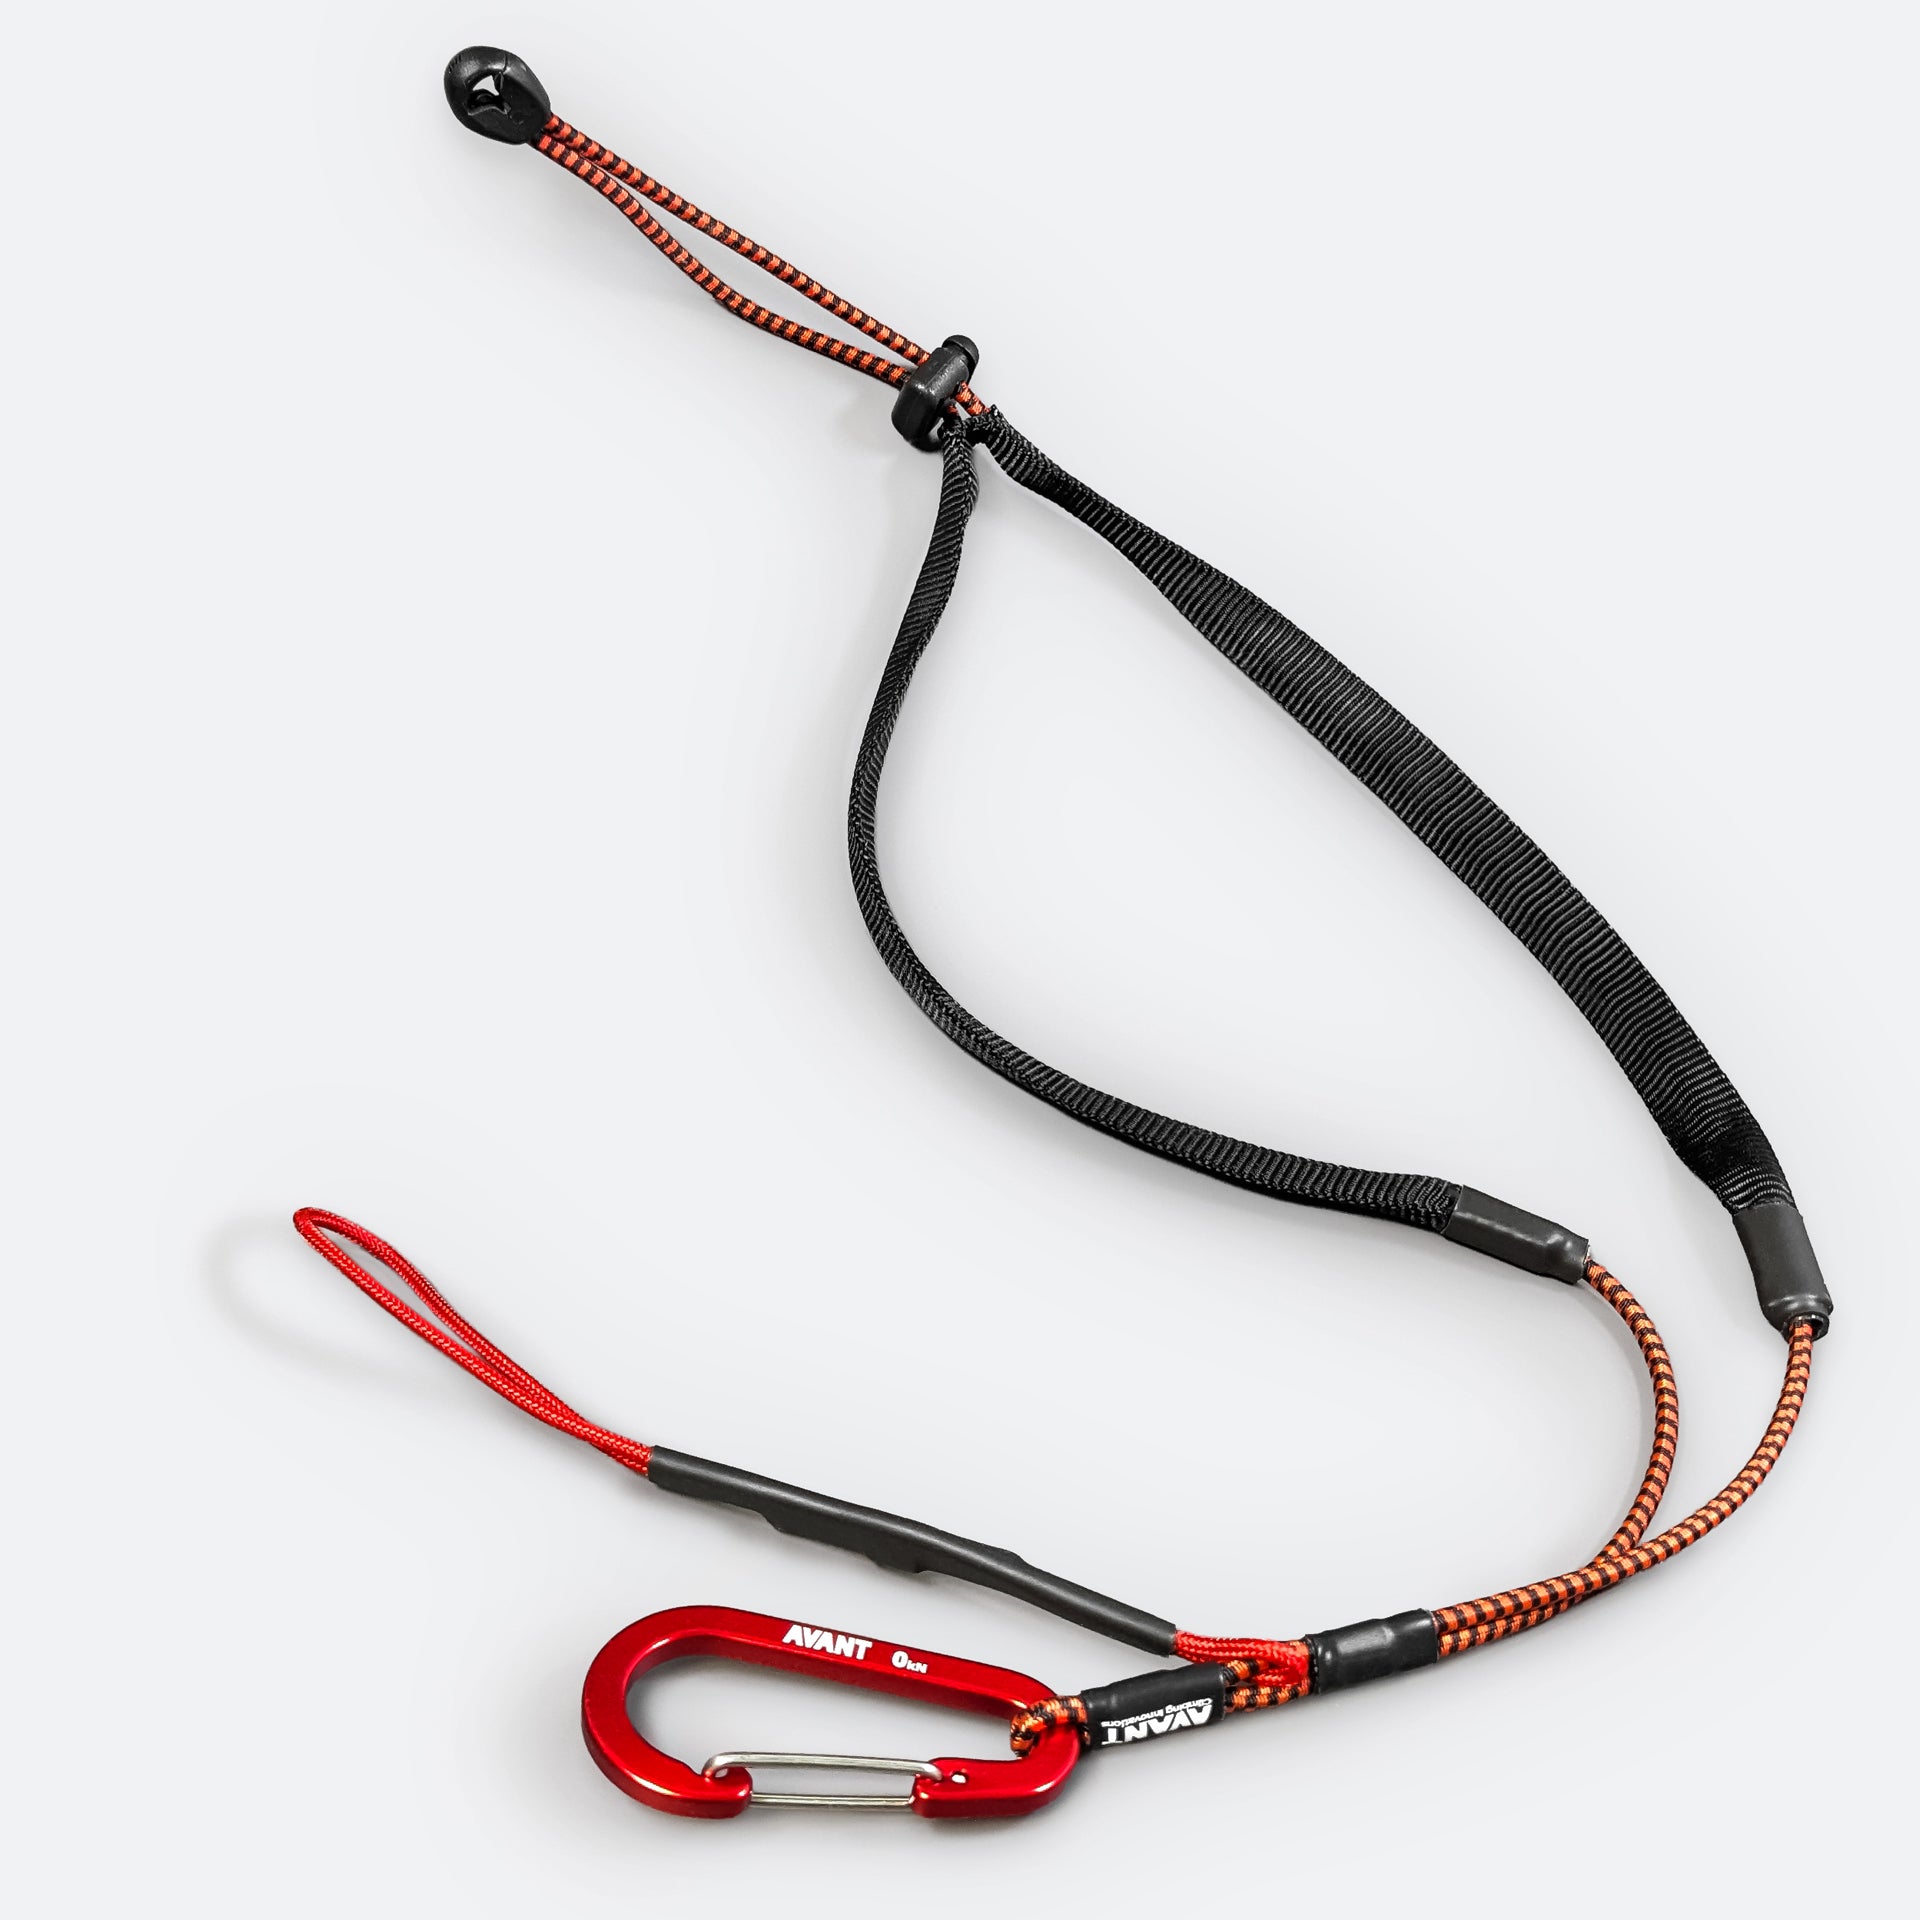
Up top: a bomber anchor (redundancy!). Rope slack or lightly tensioned. On the harness: progress-capture plus backup. Course setup: Ropeman on one strand, a Prusik above, a rope butterfly below — Micro Traxion (with pulley) as an alternative. A neck/chest lanyard keeps the device upright. As you climb it slides up; in a fall it grabs.
When it fits

Known routes, technique training, solo sessions in the gym/at the crag when a partner is missing — and you really own the setup.

Typical risks

Wrong anchor, device the wrong way round, no backup, rope over an edge, device jammed by body/pack, “free solo by accident” if the system doesn’t grab.

Self-belay lead, solo lead

Lead solo

You lead as usual — clip draws — and belay yourself with a solo-belay system on the rope.

How it works

Typical: rope bag on the ground or harness, solo-belay device (GriGri-like, dedicated solo devices, or progress-capture + backup). You run the rope through the pieces; the device feeds and holds a fall. Clearly more complex than top-rope solo.

When it fits

Experienced leaders who have trained solo systems — often only after plenty of top-rope solo and a clear emergency plan.

Typical risks

Fall factor, feed errors, device jammed/free, no backup, no help if injured. Lead solo is the hardest variant.

Safety

Before you go solo

Always a backup

One device is not enough. A second progress-capture, a Prusik, or the maker’s backup — and test it on the ground first.

Anchor as if for a team

Build it up top as if two people could fall: redundant, equalised, edge-protected. Top-rope solo lives and dies on the anchor.

Device the right way round

Progress-capture devices lock in one direction only. Lanyard/clip so the device doesn’t flip or jam on the harness.

Ground check

Before every session: a short load test just off the ground. Does it grab? Does the rope run clean? Is the backup in reach?

Tell someone

Where, when back, which route. Solo is not invisible — if it goes wrong, someone needs a plan B.

No free solo by accident

If the system doesn’t grab or you take it off “just for a second”, you’re free solo. Discipline: the system stays on until you’re on the ground or safe at the stance.

Practice

Remember this

  • Learn top-rope solo first — lead solo is another league.
  • Simple setup: Ropeman + Prusik above, one strand, rope butterfly below — or Micro Traxion + backup.
  • Read the solo device’s manual and practise before it counts.
  • Backup + correct device orientation (e.g. neck lanyard) are mandatory, not nice-to-have.
  • Rope, edges and friction: edge protection and a clean rope path, as on rappel.
  • If in doubt: take a partner. Solo is optional — living is not.

Also Terms & styles → — where free solo sits next to rope solo — Belaying with a tube →, Belay anchors → and the gear recommendations →

Solo climbing carries a higher residual risk. This material is a learning aid for the group — not a substitute for instruction, a briefing, or experienced company.